
Last updated November 15, 2026
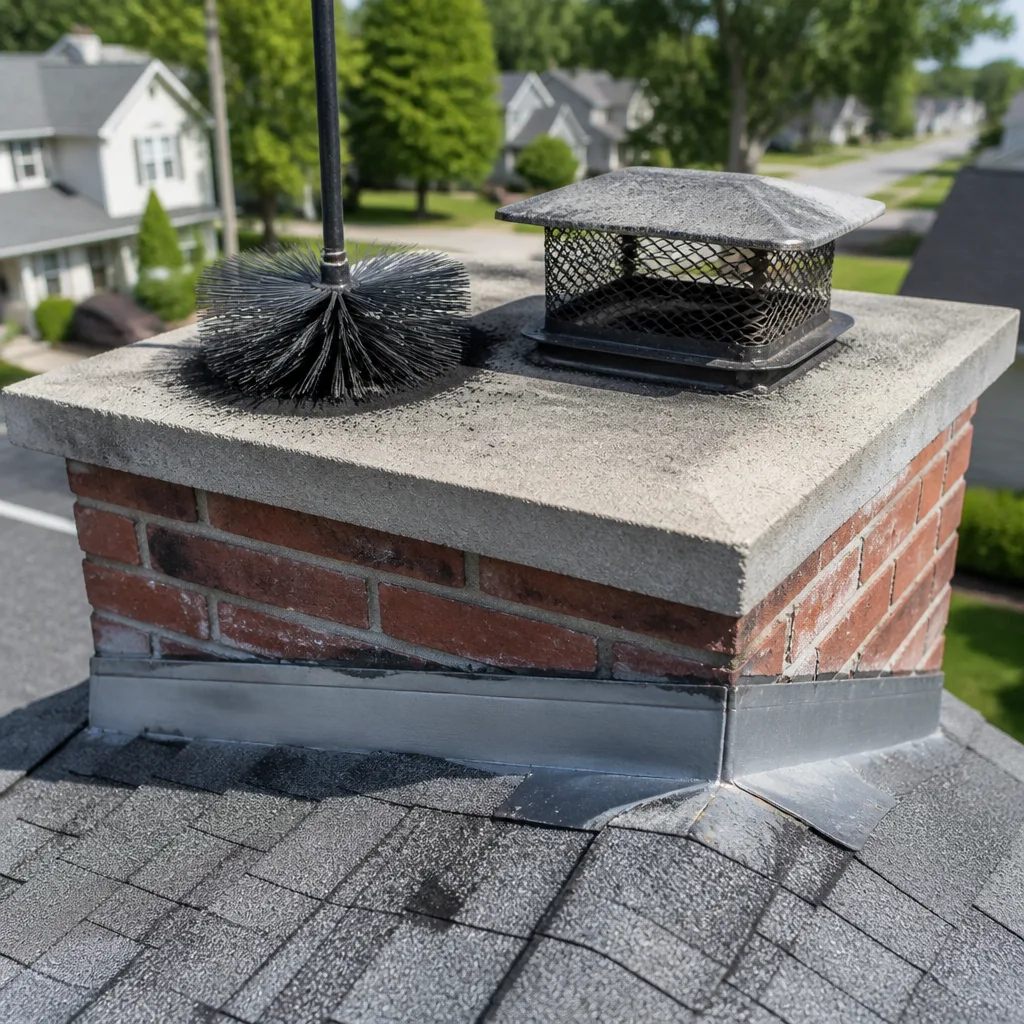 Sweep & inspection
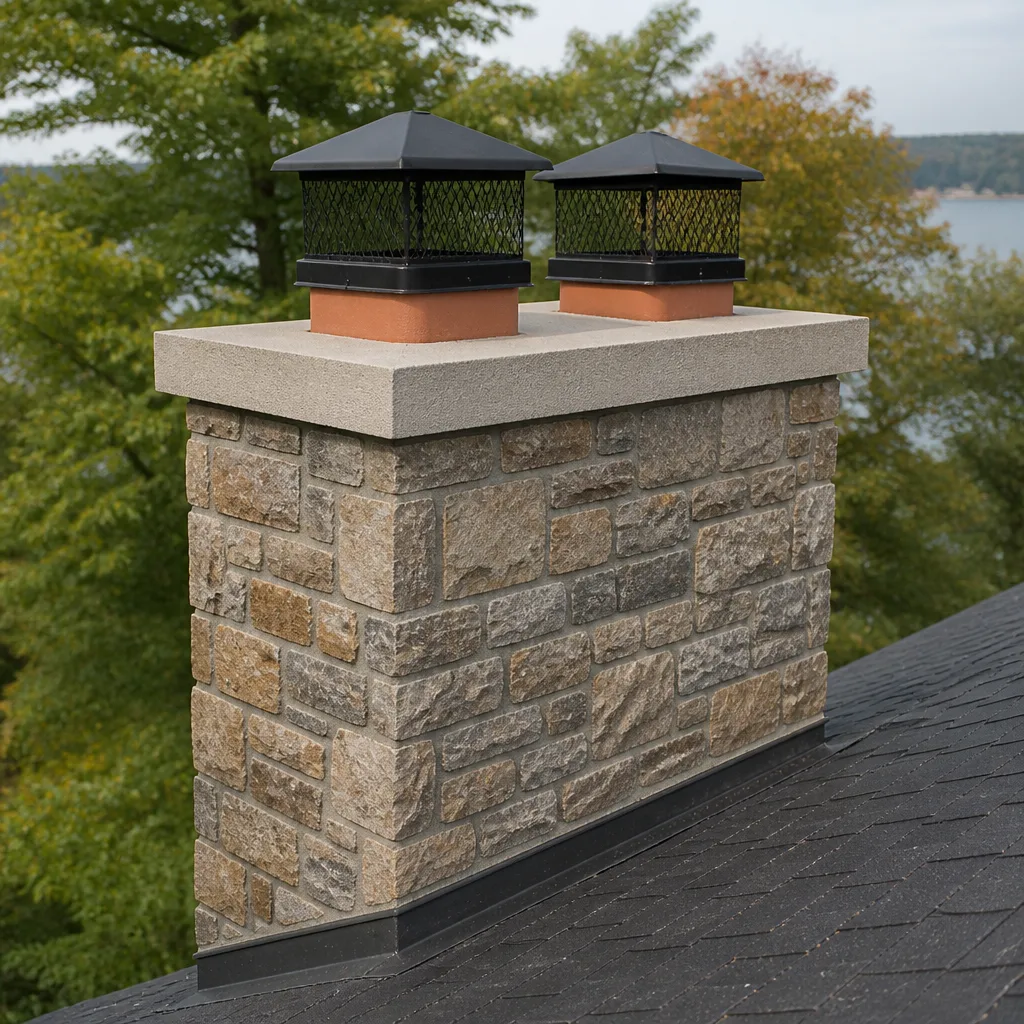 Caps & crowns
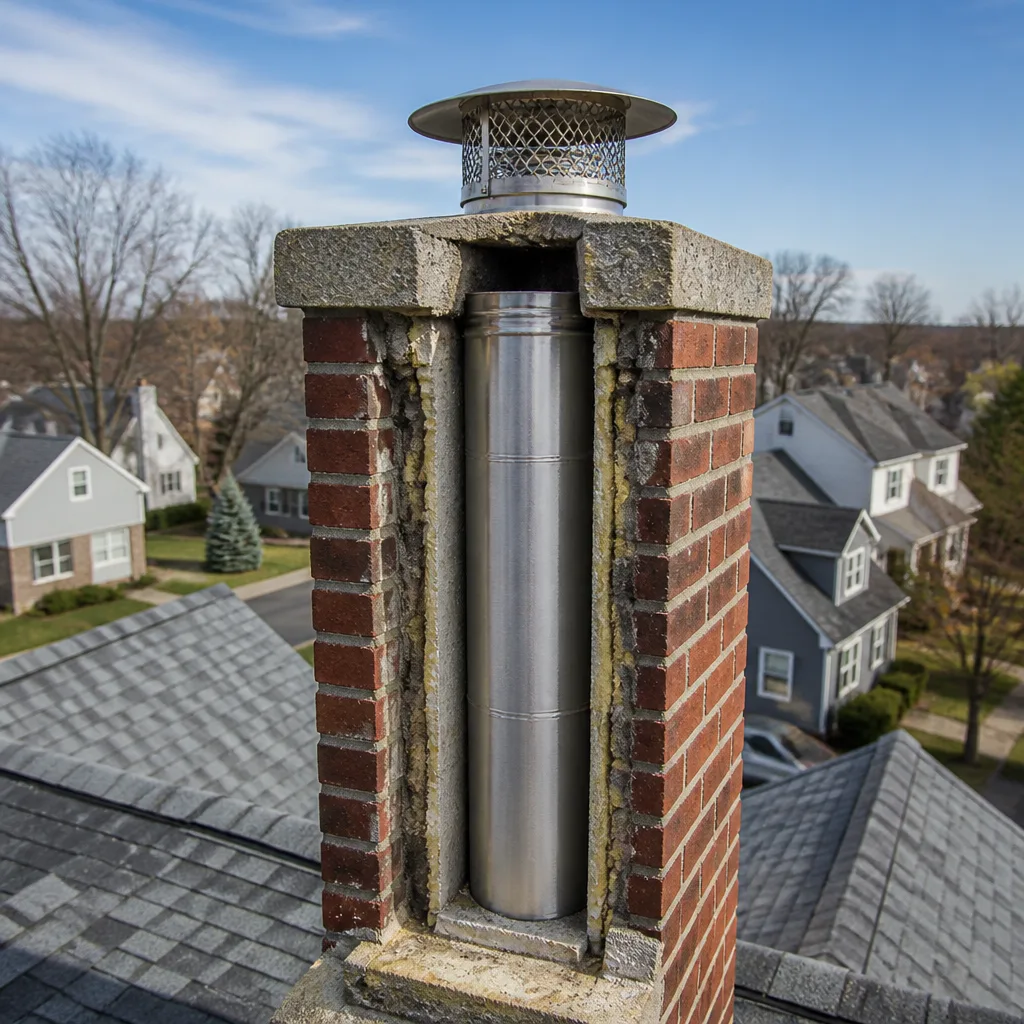 Flue relining
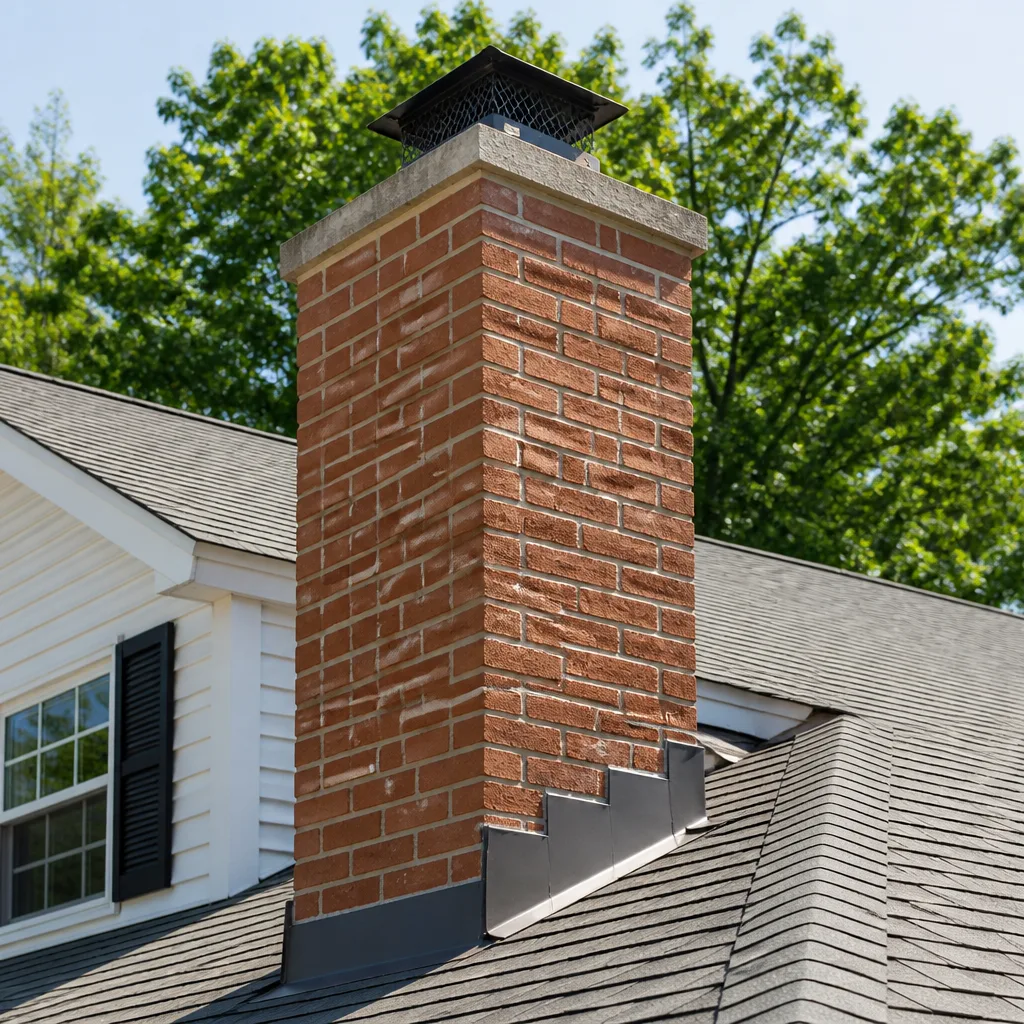 Masonry repair
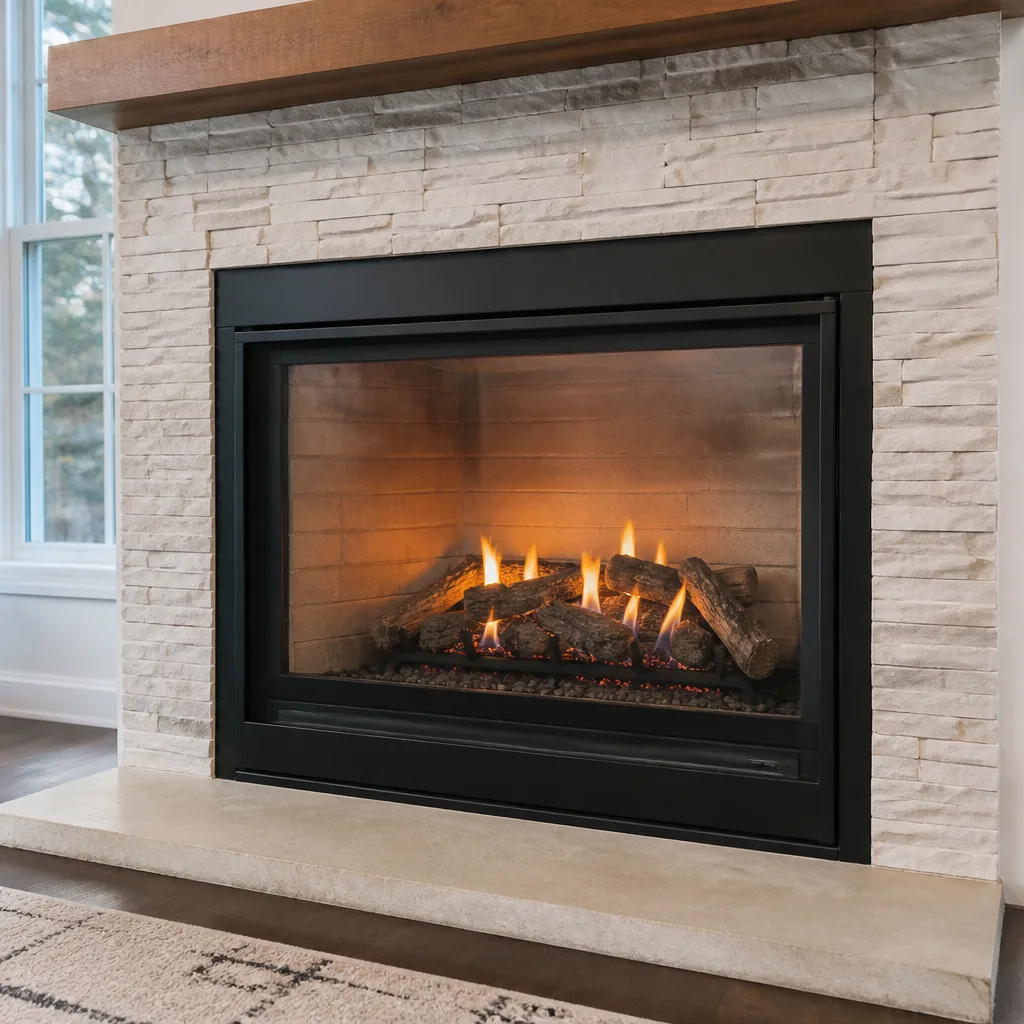 Gas fireplace service
Level 1 sweep and inspection to the NFPA 211 annual standard - flue, crown, cap, and flashing checked and photographed
Chimney sweep logs do not sweep chimneys. They loosen some creosote - which then falls where a brush and vacuum still have to collect it.
Chimney Sweep Maintenance Checklist for Chandler Homeowners
A white stain running down your exterior chimney isn’t cosmetic. It’s called efflorescence, and it’s your masonry telling you water has already moved through the structure. Most checklists tell you to note it and move on. This one tells you what it means, when to watch it, and when it’s time to act. Over the next few sections we’ll walk you through a ground-level visual pass you can do without a ladder, the specific thresholds that separate “monitor this” from “call now,” and the Chandler-specific items that matter here more than anywhere else – monsoon intrusion, sun-baked cap seals, and the pest entry points that come with desert living. You’ll finish with a documented picture of your chimney, ready to hand to any sweep.
Quick Answer
A chimney maintenance checklist for Chandler homeowners should cover five things: a ground-level visual inspection of the exterior and firebox, a check of the cap and crown for monsoon water intrusion and UV damage, a look at the firebox and damper for soot and corrosion, a scan for pest entry points, and documentation of the flue’s last cleaning and any visible creosote. Most of this you can do safely from the ground with a flashlight and a phone camera. Anything involving the roof, the flue interior, or the crown itself should be handed to a professional sweep.
Styles & brands we work with
- Sweep & inspection
- Caps & crowns
- Flue relining
- Masonry repair
- Gas fireplace service
Table of Contents
- Why Chandler Chimneys Age Differently
- The Ground-Level Pass: What You Can Safely Check
- Action Thresholds: Monitor vs. Call Now
- Monsoon, UV, and Desert Pest Checklist
- Firebox, Damper, and Soot Signals
- The Dryer Vent Item Most Checklists Skip
- Chandler’s Real Seasonal Calendar
- What to Photograph Before You Call
- Common Mistakes to Avoid
- When to Call a Professional
Why Chandler Chimneys Age Differently
Chandler chimneys don’t face the wear pattern you’ll read about in national chimney care articles. Those are written for cold-climate homes where ice expands inside masonry joints and drives spalling. That’s not the story here. What Chandler chimneys face is a long, dry, sun-heavy stretch followed by violent summer rain and blowing dust the rest of the year. Different stressors, different failure points, different things to check.
The dry heat does one specific thing well: it cooks the sealant around the chimney cap and the flashing at the roofline. Those beads of caulk or sealant crack, shrink, and pull away. They’re rated for UV exposure, but nothing lasts forever in a Chandler summer, and once that seal fails, the next rain event is a direct water path into your flue. That’s how efflorescence starts.
The monsoon side is the second half of the story. Rain doesn’t arrive politely here. It arrives in a wall, sometimes sideways, and often for twenty minutes after a month of dry. Chimneys that would shrug off a slow drizzle can take on water fast when the cap and the crown aren’t shedding it properly. That water finds its way into the smoke chamber, into the firebrick, and down into the damper. You may never see a drop inside. The masonry will tell you in six weeks.
Desert dust and pest pressure are the third piece. Blowing dust coats the exterior metal and the cap screen, and it collects in the firebox when you’re not using the fireplace. Screens rust or tear. From there, birds, bees, and rodents that are already looking for a way in will find one. That’s why a Chandler checklist spends more on exterior signals and less on freeze protection than a Cleveland version would.
And the aging homes in Chandler – the older ranch and mid-century stock around downtown, along Arizona Avenue, and in the neighborhoods that grew up before the 2000s – often have chimneys built to the standards of their time. Some have original mortar crowns. Some have original masonry caps with no screen at all. If you’re in one of those homes, the exterior pass matters more, not less. If you’re in newer construction, the checklist still applies – the materials change, the failure modes don’t.
None of this is meant to alarm. It’s meant to explain why a chimney in Chandler needs a slightly different checklist than a chimney in a snow state, and why “I’ll check it next year” tends to work in colder climates and not in this one.
The Ground-Level Pass: What You Can Safely Check
You don’t need a ladder to do a meaningful visual inspection of your chimney. In fact, our advice is the opposite of what you see in most videos: stay on the ground. The most useful first pass uses your feet, your eyes, and the flashlight on your phone. The roof is a bad place to learn about your chimney. Ground level is safe, and it captures most of what you actually need to know.
Do this pass once before the first cool night when you’ll want to light a fire, and once again after the last monsoon of the season. It takes about fifteen minutes. Walk the perimeter of the house first, then work your way inside.
Work through it in this order:
- Walk the exterior. Stand back far enough to see the whole chimney exterior and the roofline where it meets the house. Look for white, chalky stains (efflorescence), rust streaks, broken or missing cap screen, and any tilt or crack in the crown at the top of the masonry.
- Look at the roofline flashing. From the ground, you can often see the metal flashing where the chimney passes through the roof. Look for pulled-back edges or visible gaps. This is the most common roof leak source on a chimney.
- Look at the firebox interior. Open the fireplace doors and shine a light inside. Look at the firebrick – the brick lining the back and sides. Are the joints intact? Any brick face spalled, cracked, or missing a chunk? Do the brick faces have a white or grey chalky look?
- Check the damper. This is the metal plate above the firebox. It should open and close smoothly. If it sticks, warps, or won’t seal fully, that’s not just a nuisance – an open damper is a direct path for heat loss and a direct path in for cold outside air, and on the flip side, a stuck-closed damper is a carbon monoxide risk if you light a fire.
- Look up the flue from the firebox. With the damper open and a strong flashlight, look as far up as you can. You won’t be able to see the whole flue – that’s for a camera – but you can see the first sections. Look for heavy black creosote, an obvious obstruction, or a visible crack in the tile liner.
- Confirm the cap is present and intact. Stand back and use your phone camera zoom. The cap should cover the flue opening and have an intact screen. In Chandler, screens disintegrate from UV and heat cycling faster than the national average suggests.
- Photograph everything you found. More on that below, but the point is: your photos are the start of your record, not the end of a guess.
That’s the entire safe pass. Everything else – the interior of the flue, the crown itself, the smoke chamber – belongs in the hands of a trained sweep. Our technicians have up to 12 years of experience running camera inspections of flues for exactly the reasons listed above: what you can see from the firebox is the easy part, and what’s above it is where the real story is.
Action Thresholds: Monitor vs. Call Now
A checklist that tells you to “note” something without telling you what to do about it isn’t a checklist. It’s a to-do list that never gets done. Here’s the version this page owes you: each item, and the threshold that changes your next move. The rule is simple. Some things you watch. Some things you call about. Very few things are urgent-urgent.
Use this as your reference:
- Efflorescence (white, chalky stains on exterior masonry): Monitor if it’s a light single streak that hasn’t changed since last season. Call a sweep if the stain has visibly widened or new stains have appeared after a rain, or if there’s any chalky powder inside the firebox. Interior efflorescence on the firebox brick is a much stronger signal than an exterior streak.
- Cap screen missing or torn: Call now. A missing screen is an open door for birds, bees, and debris, and it can change the whole flue’s draft performance. It also means the interior is now directly exposed to monsoon rain.
- Caulking or sealant around the cap and flashing, visibly cracked or gapping: Call now, especially before monsoon season. This is the single highest-value, lowest-cost fix on most Chandler chimneys, and the water damage it prevents is expensive.
- Rust streaks on exterior metal: Monitor if superficial. Call if it’s rusting through or if the metal has begun to warp from heat.
- Cracked or spalled firebrick: Call if you can fit a fingernail or a thin coin into the crack. Light hairline cracks with intact joints can usually be monitored with photos from year to year.
- Stuck, warped, or non-sealing damper: Call. Dampers are simple to replace and can be the difference between a working fireplace and a carbon monoxide hazard.
- Heavy black, glassy creosote visible up the flue: Call. That’s stage-three creosote, and it’s the level that most readily catches fire. It can’t be removed with a homeowner tool. It requires a professional sweep with the right tools.
- Any obstruction – nest, leaf mass, visible blockage: Call before you light a fire. A blocked flue will push carbon monoxide back into the room.
- Chimney exterior out of plumb, or visible lean: Call now. This is a structural issue that should be assessed by a professional before anything else on the list.
The pattern to remember: works from the outside in. The exterior signals relate to water and structure. The firebox and damper relate to safety and function. The flue is where a trained sweep does the work. If you’re not sure where a finding falls, it’s fine to treat it as a “call now” item – a professional can talk you down from a call, but they can’t prevent a problem you never told them about.
Monsoon, UV, and Desert Pest Checklist
This is the section that doesn’t appear in generic chimney guides, and it’s the one that matters most for a Chandler home. Three things here: monsoon water intrusion, UV-degraded cap seals, and pest entry points. Each has a specific inspection point and a specific action threshold, all doable at ground level.
Monsoon water intrusion
Chandler’s monsoon rains arrive in the summer, typically starting in late June or early July, and often hit in short, violent bursts. Chimneys that look fine in May can take on significant water in July. The three check points:
- The crown. From the ground, look at the very top of your masonry chimney. The crown is the sloped concrete or mortar cap that sheds water. If you can see a visible crack across it, or if the slope appears flat or negative, water is pooling there. That’s a call-now item.
- The flashing. The metal where the chimney meets the roof. Look for pulled edges. A flashing failure is a roof leak, not just a chimney leak. If you see interior ceiling stains near the chimney after a rain, that’s the answer.
- The firebox after a rain. If you can see or feel dampness in the firebox, or smell a damp, musty note inside the fireplace after a rain, water is getting in through the flue or crown. Call a sweep – do not light a fire until it’s evaluated.
UV-degraded cap seals
Chimney caps are designed to sit at the top of a house in full sun all day, every day. In Chandler that means UV exposure at a level most chimneys in the country never see. The failure mode is a sealant that goes from flexible to brittle, cracks, and lets water in around the base of the cap. From the ground, look at the cap base where it meets the flue. If you can see a gap, a crack, or a visible ring of separated sealant, that’s a call-now item. The fix is fast and inexpensive compared to the interior damage a failed seal causes. This is the single Chandler-specific chimney checklist item we recommend the most.
Desert pest entry points
Chimneys are warm in winter, cool in summer, and sheltered year-round. That’s attractive real estate for the birds, bees, and rodents that live in southern Arizona. The three entry points to check:
- The cap screen. Already covered above. Missing screen equals an open door.
- The damper. If your damper doesn’t close flush, small pests have a path. A warped damper is often a pest problem waiting to happen.
- The exterior at ground level. Look at the base of the chimney where it meets the ground outside. Small gaps at the base are entry points. If you see evidence of activity – nests, droppings, or small chew marks – call before you light a fire.
Fireplace caps and dampers are the two components that protect this house from both a monsoon and a mouse. Neither is complicated. Both fail in the desert.
Firebox, Damper, and Soot Signals
The firebox and damper tell you more about your chimney’s condition than the exterior, and you can check them yourself safely. The trick is knowing what you’re looking at. Here’s what to see and what it means.
The firebox
The firebox is the brick-lined area where the fire sits. Pull the screen or open the door, and look at the firebrick with a strong light. Two things matter:
- Cracked brick or open joints. Firebrick is the heat shield for the fireplace. If the brick face is cracked, spalled, or missing chunks, or if the mortar joints are visibly open, the fire’s heat is reaching the masonry behind it – and ultimately, the structure of your house. Small hairline cracks are common and often manageable. Cracks you can fit a coin into, or joints that have gone from tight to wide, are a call item.
- White chalky stains on the brick face. This is efflorescence inside the house. It means moisture is present where it shouldn’t be. It’s a stronger signal than an exterior streak. Call a sweep.
The firebox is also where you’ll see soot and creosote buildup. A light dusting of soot is normal. A thick, hard, glossy layer – that’s stage-three creosote, and it means the flue above is worse than what you can see. This is where a professional sweep earns their fee. The tools needed to remove heavy creosote safely are not homeowner tools, and trying to scrape it loose from inside the firebox is a good way to start a chimney fire or damage the flue liner.
The damper
Open and close the damper a few times. It should move smoothly, without sticking, and it should seat fully when closed. Two failure modes:
- Sticking damper. Usually a sign of rust or creosote buildup. Small annoyance, worth flagging on your next sweep.
- Damper that won’t seat closed. Do not overlook this. An open damper is a carbon monoxide pathway, and if you burn a fire with a damper that won’t open fully, you can push exhaust back into the room. A damper that won’t open at all should be checked by a professional before you ever light a fire.
The smoke chamber
Above the damper and below the flue is a transition zone called the smoke chamber. From the firebox, you may be able to see the beginning of it. If the masonry looks rough, has been patched heavily, or shows cracks, that’s the sweep’s job to evaluate. This is exactly the kind of area where the right materials matter: our team works with professional-grade product lines like HeatShield and Olympia Chimney for restorative and repairable masonry because a surface patch would hide the problem, not fix it. If you see rough or patched masonry in this area, ask for a camera inspection – the evidence is what should drive the recommendation. If you’d like to know what a proper inspection involves and how we handle the cleaning side, the chimney sweep page goes into the details.
The Dryer Vent Item Most Checklists Skip
The most important safety item in your home’s venting system is usually not the chimney. It’s the dryer vent – a corrugated tube of lint running from the dryer to the outside wall of your house. A clogged dryer vent is a fire risk. Lint is highly flammable, and enough of it accumulated around a heat source is enough to start a fire. The good news is that this has nothing to do with whether you have a fireplace. It’s a separate system, and it deserves its own full pass.
A safe homeowner check on the dryer vent, no ladder required:
- Check the outside vent flap. Find the exterior vent for your dryer on an outside wall. Turn the dryer on and go outside. You should feel strong, warm airflow, and the flap should open fully. If the flap barely moves, sticks closed, or you feel no airflow, there’s an obstruction interior to the duct.
- Check behind the dryer. Pull the dryer out slightly (carefully – don’t disconnect the vent) and look at where the duct connects. If the duct is crushed, kinked, or disconnected, that’s a fire and efficiency problem.
- Look at the duct itself. If you can see the duct run, look for sagging loops where lint collects. Lint traps at every low point.
- Check the lint screen. This one is everyday habit, not a maintenance checklist item, but it’s worth naming. Clean it before every load. Skip it and the vent will clog faster.
Action thresholds for the dryer vent are simpler than the chimney’s. If the exterior flap is stuck or barely opening, call. If you feel weak airflow from the vent, call. If the dryer takes two cycles to dry a load it used to dry in one, that’s an early warning – usually a partially clogged duct. And if your dryer vent has never been cleaned since you moved in, and the home is more than a couple of years old, that’s the threshold. Call. When it comes to dryer vent cleaning, a professional run with a camera and proper rotary tools will clear the whole duct, not just the visible end. We’ve seen dryer vents do exactly what lint always does given time and heat, and the fire risk doesn’t announce itself before it starts. It’s the venting job most homeowners think about last and should think about first.
Chandler’s Real Seasonal Calendar
Fall chimney maintenance gets most of the coverage in national advice, but a Chandler calendar works on different markers. Here’s the seasonal rhythm that actually fits this climate, broken down by what to do when.
- Early spring (before the first heat): Do the ground-level pass and document. The chimney has just come off a burning season, and any new creosote or firebox wear is visible now. If the sweep finds something, there’s time to schedule the work without pressure. Call (855) 664-1862 for a free estimate and the booking will be done around a normal schedule, not a scramble.
- Late spring (before the first heat wave): This is the best window for cap and sealant work. Sealant that has survived a summer or two should be assessed now. Replacing UV-degraded cap seals before summer is the single highest-value preventive item on the calendar. It’s also the best time for a full sweep if it’s been more than a year.
- Early summer, before monsoon (late June): This is the last call for any waterproofing work, flashing repair, and cap replacement before the rains arrive. If you have a known flashing issue or an aging crown, get it solved in June. Once the monsoon starts, you’re on the defensive.
- Monsoon season (July to September): Keep an eye out after every significant rain event. Check the firebox for dampness. This is not the time to schedule structural repair work if it can wait – but it’s absolutely the time to call if a leak has started. Water damage gets worse fast and costs more to fix in October than in July.
- Early fall (September to October): Sweep before the burning season starts. In Chandler, the first cool evening that makes you want a fire can come in October or November. Sweep in September or early October and you’re clear. If you wait until the first cold snap, you’ll be in the same queue as everyone else.
- Late fall and winter (November to February): Burning season. Check the firebox and damper before each fire, clean the lint screen on every dryer load, and note any new soot or creosote visible. If the chimney is working well, this is routine. If anything on your list gets worse, schedule it for spring.
Two seasonal anchors are universal across that calendar. First: if you can’t remember the last time the flue was swept, treat it as overdue, whatever the month. Second: if you’ve just bought the home, get a sweep before the first fire regardless of season. The stack of assumptions you inherit with a home’s chimney isn’t evidence. A camera inspection is.
What to Photograph Before You Call
The single most useful thing you can do before a sweep arrives is to photograph your own chimney. Not because you’re doing the work – you’re not. Because the photos turn a “we’ll take a look” appointment into a real, targeted diagnosis. And because a documented record of your chimney’s condition protects you from being sold work you don’t need. A sweep who tells you there’s damage should be able to point to evidence you can see, not describe a problem you have to take on faith.
Shoot these five:
- Full exterior of the chimney, from the ground, pushed back far enough to show the roofline. This is the baseline. Take it from the same distance and angle every year.
- Close-up of the cap and crown. Use the phone’s zoom, don’t climb. This shows the state of the screen and the crown.
- Close-up of the flashing and roofline where the chimney meets the roof. This is the leak source you most want to be able to compare a year from now.
- Firebox interior, with a flashlight for even lighting. Take three: one straight on, and one for each side wall of the firebox. This is where you’ll see if firebrick cracks are progressing.
- Damper, open and closed. Two shots. The open and closed positions show if the damper is catching or warped.
Write down the date of each set, along with a short note on what you found and what you plan to monitor. This is your record. If you ever sell the home, this is the kind of documentation that answers a buyer’s question honestly. When you do call a sweep, hand them your photos. A good sweep will use them as a starting point, run a camera inspection of the flue, and give you a photo report that adds to your record. That’s the process, not a sales pitch. When we work with professional product lines – Famco and Copperfield for venting and caps, DuraFlex for liners, HeatShield for resurfacing – we match the material to the documentable issue, not the other way around. The right materials, installed correctly, are what a record like this should justify. If you’re in the home for the long haul, that’s the whole point.
Common Mistakes to Avoid
- Reading cold-climate chimney advice as if it applies here. Ice expansion, freeze-thaw cycles, and snow load don’t happen in Chandler. Following that advice wastes your time and misses the failure modes that actually occur here – UV, monsoon water, and dust-driven pest pressure.
- Climbing the roof to inspect the cap. The cap and the crown are not safe to inspect from the roof. A ladder plus a roof edge plus a chimney cap is a fall injury waiting to happen. Use your phone’s zoom from the ground.
- Treating efflorescence as cosmetic. That white chalk is the visible sign of water movement through masonry. Painting over it makes the problem invisible without solving it, and the paint will fail faster than the masonry would have. Note it, photograph it, and get it evaluated.
- Starting a fire after noticing a damper won’t open fully. A closed or partially closed damper pushes exhaust back into the room. That’s a carbon monoxide exposure risk, not a nuisance. If the damper is compromised, don’t burn until a professional has looked at it.
- Skipping the dryer vent because you don’t have a chimney. Half the homes in Chandler have no fireplace but still have a dryer. The dryer vent is a separate safety system with its own failure modes, and a lint-clogged duct has caused house fires. The dryer vent check belongs on this checklist whether or not the home has a chimney.
- Assuming a “sweep” and a “chimney contractor” are two different people. Splitting the two means the sweep has to hand off the diagnosis, and the repair gets done without the person who saw the problem in the first place. We diagnose, we clean, and we repair so it isn’t a hand-off.
- Waiting until you smell smoke in the house to act. The point of the checklist is to catch the issues that never announce themselves. A dripping firebox after a rain, a chalky streak on the exterior, a stuck damper – none of these will ever present as a symptom you can’t ignore until they’ve already done the damage.
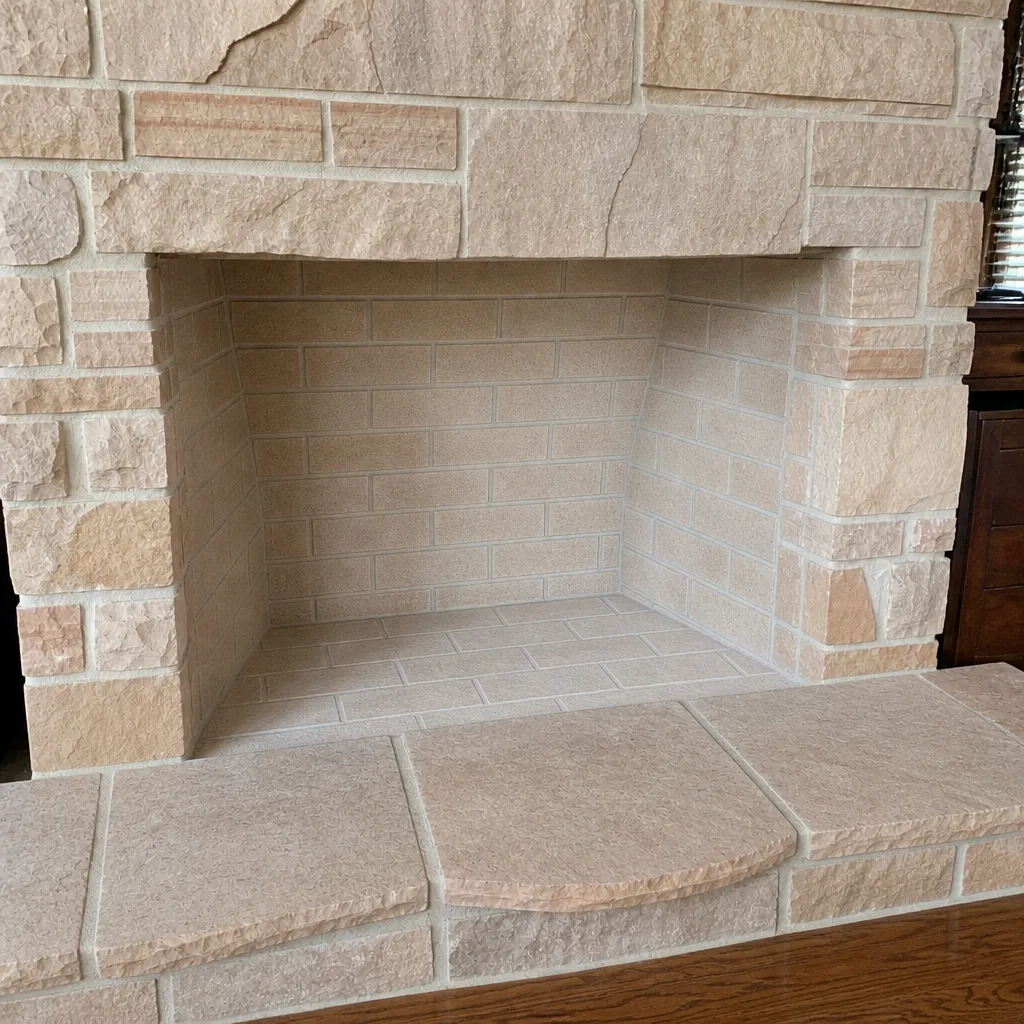
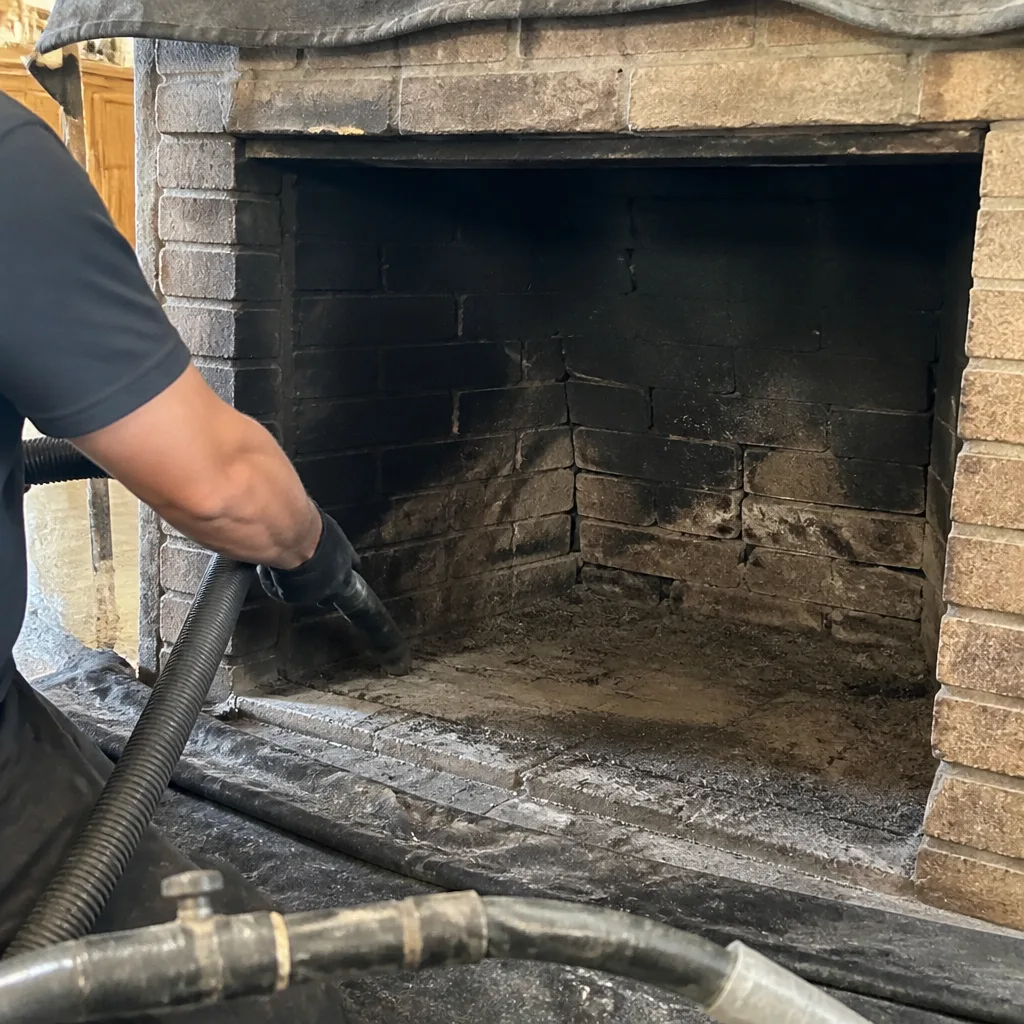
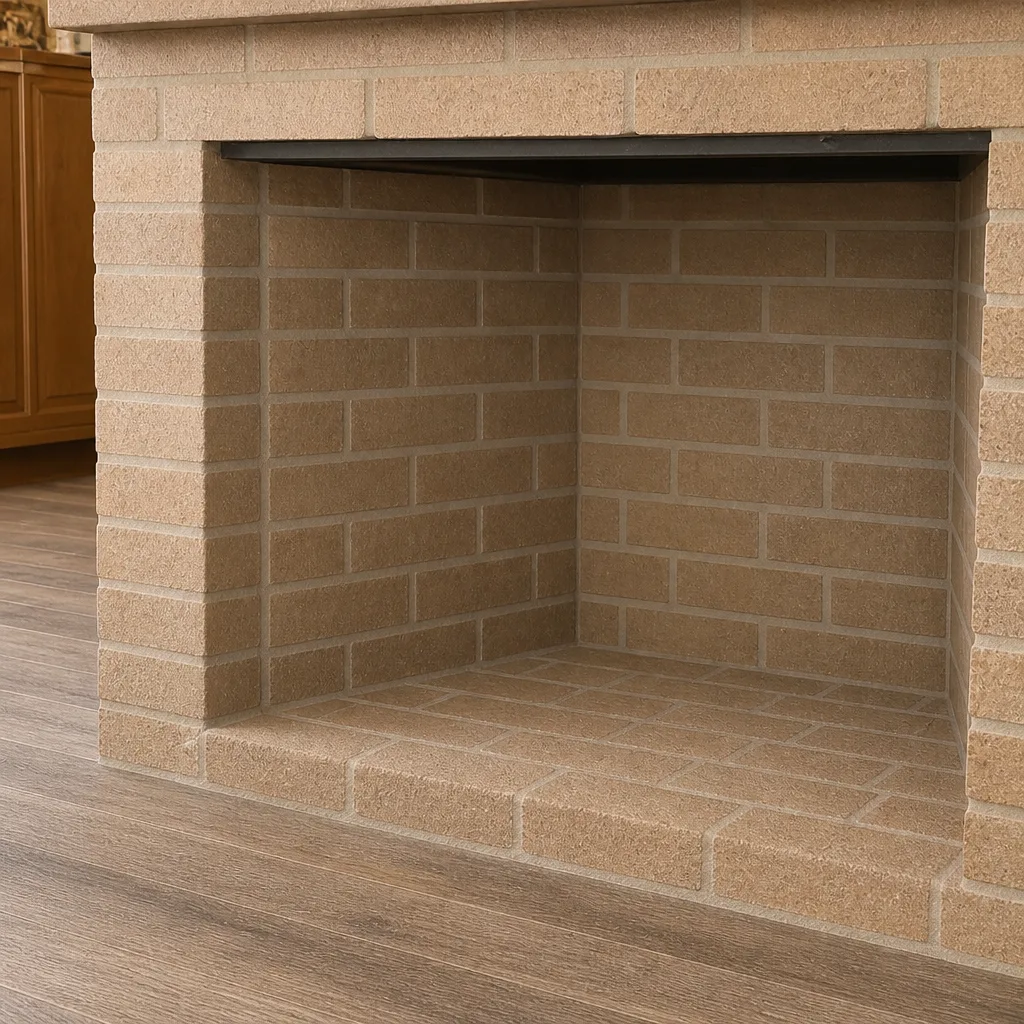
See the difference
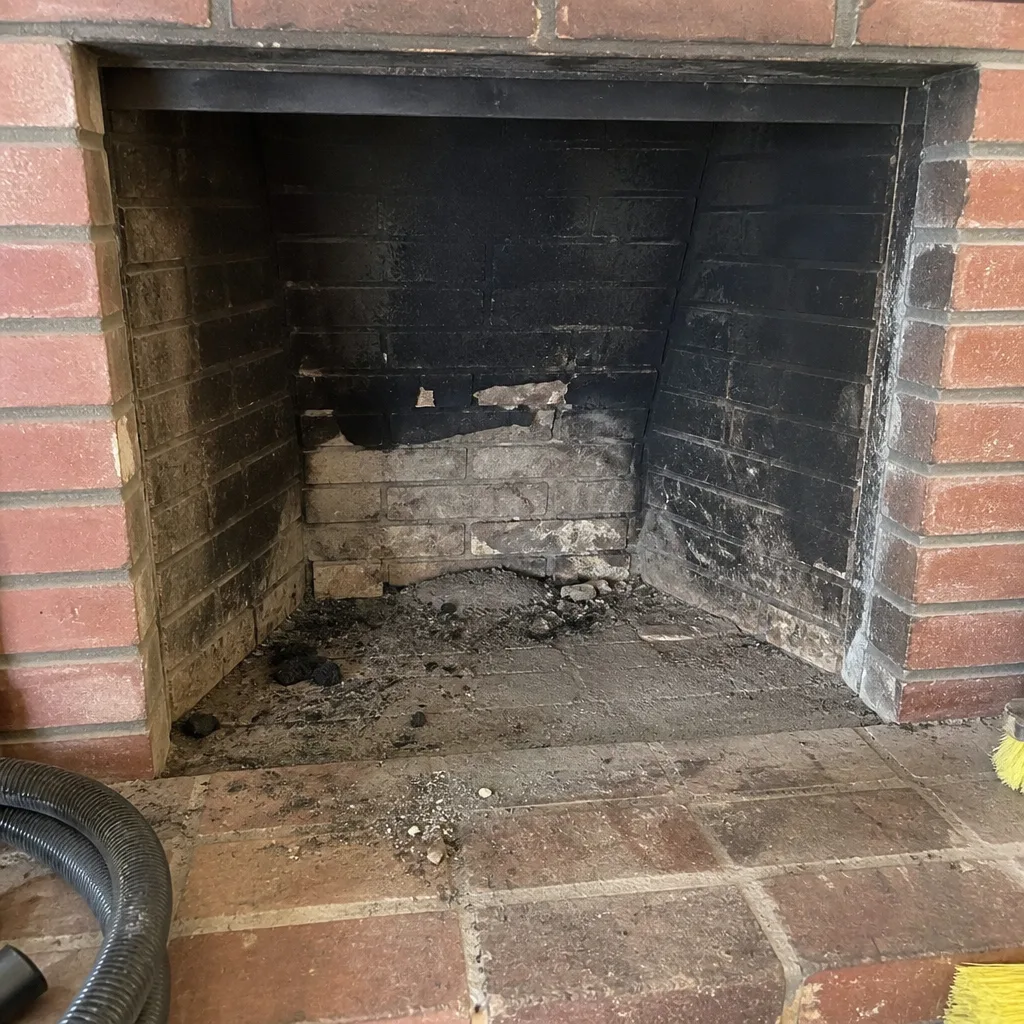 Before
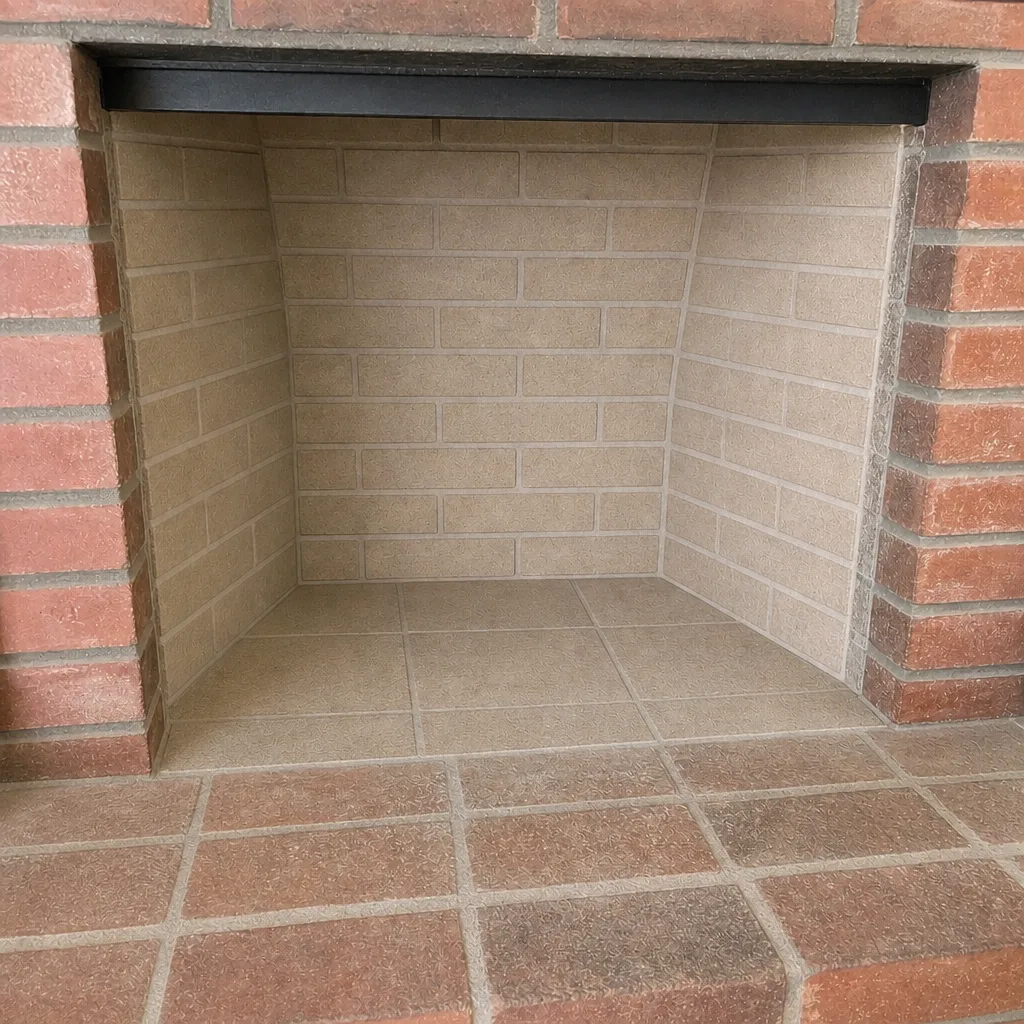 After
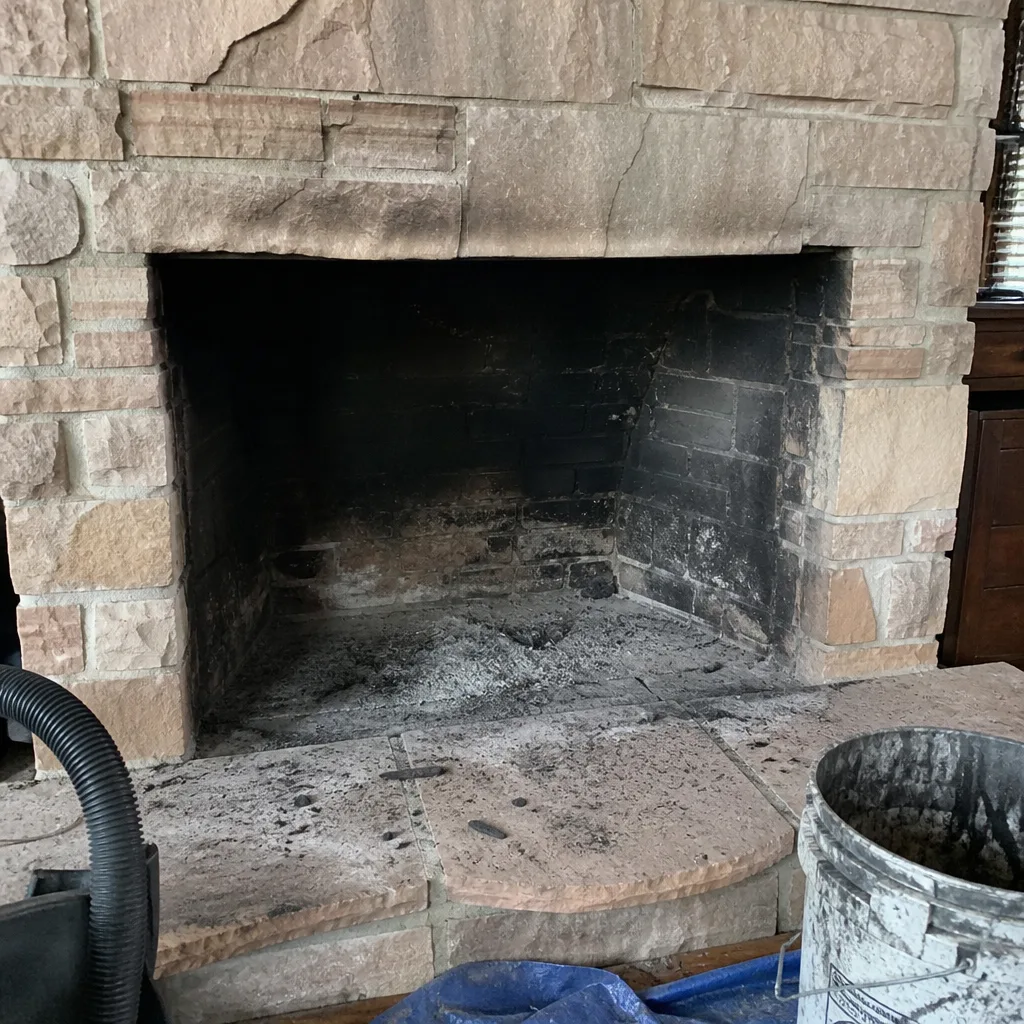 Before
 After
 Before
 After
When to Call a Professional
Call a professional sweep when any of these are true: the flue hasn’t been swept in more than a year, or you don’t know when it was last swept. Any visible crack in the firebrick you can fit a coin into. Any interior chalky efflorescence or dampness in the firebox. Any visible creosote that’s black, glassy, or thick. Any cap screen missing or torn. Any stuck or warped damper. Any visible crack across the crown or a crack in the flashing. Any new ceiling stain near the chimney after a rain. Any pest evidence in or around the chimney. And any kind of fire in a fireplace you haven’t personally seen inspected. You don’t need a professional for the visual window pass, the softcap check, or the dryer vent flap test – those are yours. Call for anything that requires the flue interior, the crown, the roof, or a repair. Chandler Chimney Sweep offers free estimates in Chandler – call (855) 664-1862. We answer 24/7. Fast dispatch from 7am to 7pm, Sunday through Friday.
Frequently Asked Questions
Once a year for a working fireplace, and more often if you burn heavily – the standard is roughly every cord of wood, or once a year whichever comes first. In Chandler, the more important item is the annual visual pass and cap inspection: the sweep interval is about creosote, but the checklist interval is about water intrusion and UV damage. Call (855) 664-1862 for a free estimate to get the flue checked and your record started.
Not automatically. A flue liner is required when the existing tile liner is cracked, when a fireplace insert or appliance is added that needs its own vent, or when the chimney is relined after fire damage. The answer for your home comes from a camera inspection of the flue, not a guess. If you’re told you need a liner and no one has shown you the evidence, ask for the photo report. Call (855) 664-1862 and we’ll walk you through what a proper inspection looks like – estimates are free.
White, chalky stains on exterior chimney masonry are efflorescence, the visible sign of water moving through and drying out of the masonry. It’s the most reliable early warning of water intrusion we see on Chandler chimneys. Seriousness depends on where it is. A small exterior streak can be monitored. Interior efflorescence on the firebox brick, or external stain that’s growing after a rain, is a call-now item. Call (855) 664-1862 for a free estimate – no guesswork on this one.
Do the ground-level visual pass yourself – it’s useful, it’s safe, and it’s a big part of this checklist. The flue interior, the smoke chamber, the crown, and any roof work are the professional’s job. Diagnostic camera inspection is exactly what tells you whether a recommended repair is necessary, and a professional can show you the evidence you can’t see from the firebox. Call (855) 664-1862 for a free estimate.
The single best defense is asking for a camera inspection and a photo report. Every recommendation should point to something you can see – a crack in a specific tile, a photo of the crown, a visible layer of creosote. Ask for the report and ask them to show you the problem on the video. If they can’t or won’t, get another opinion. Call (855) 664-1862 for a free estimate and we’ll start with evidence, not a sales sheet.
Stay off the roof and use your eyes and nose. After a rain, look at the firebox for visible dampness and smell the fireplace area for dampness. Check the interior ceiling near the chimney for new staining. Check the exterior masonry for new white streaks. Those four checks will tell you whether a professional is needed, without a ladder. We answer 24/7 if you want to talk through what you’re seeing – a call outside dispatch hours is booked into the next opening, Sunday through Friday, 7am to 7pm.
The Bottom Line
A Chandler chimney checklist is a different checklist than the one in a national guide, and that’s the point. The threat here is sun and monsoon, not snow and ice. Do the ground-level pass twice a year. Get the cap and sealant inspected in late spring before the rains. Take your five photos and keep them dated. Sweep the flue before the burning season starts. And check the dryer vent even if you have no fireplace – it’s the vent that fails silently. If anything you find crosses a “call now” threshold, call. The rest, you can safely monitor. The right materials, installed correctly, plus a documented record of the work, gives you a chimney that will last the life of the house. If you want a second set of eyes, Chandler Chimney Sweep can take it from here.
Contact
Have your photos ready and a question about what you found? We diagnose, we clean, and we repair. The estimate is free and the written estimate sets the final price, per job. Call (855) 664-1862 to book. We answer 24/7. Fast dispatch from 7am to 7pm, Sunday through Friday, closed Saturday.
Written by the team at Chandler Chimney Sweep.